 Skip to content
 Part 2 puts the red-pointer “up the bottom” method to the test. Russ deliberately upsets the alignment and then works through what the tool can and cannot do compared with conventional scorch testing.
Previous: Up the Bottom – Part 1 | Series Menu | Next: Air Assist Myths
What You’ll Learn
- Where a visible alignment tool can simplify initial setup.
- Why mirror 2 and mirror 3 still demand an understanding of reflection geometry.
- Why final alignment must still be confirmed with the working laser beam.
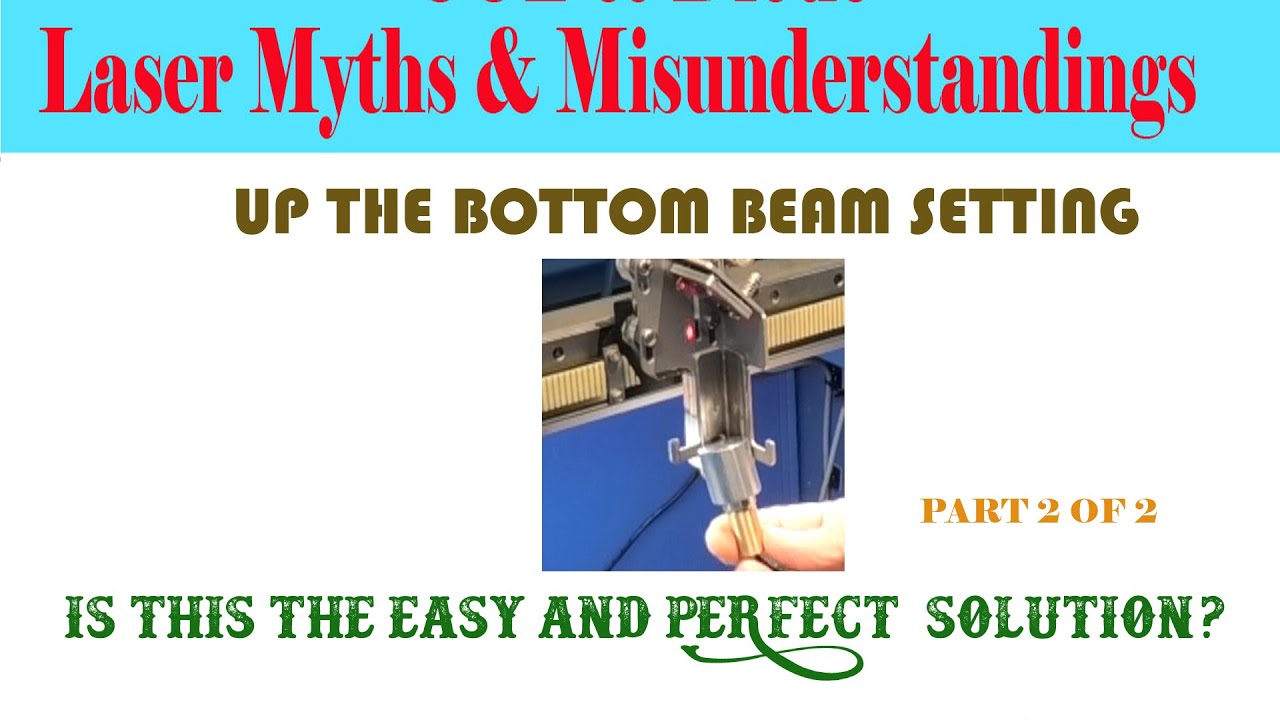
Useful, But Not a Magic Bullet
Russ finds that the method can be made to work and can help with parts of the setup, but it does not remove the need to understand mirror geometry or the mechanical layout of the machine.
The Final Beam Still Wins
Once the visible-pointer stages are complete, Russ returns to the CO₂ beam itself to verify the real optical path. His conclusion is that the tool can assist alignment, but cannot replace confirmation with the laser beam.
Why This Session Matters
It gives a balanced assessment of an alternative alignment method: useful in the right machine and with the right understanding, but not a shortcut around the fundamentals.
This page is a concise overview of Russ Sadler’s original video rather than a full transcript.
