 Skip to content
 Acrylic cutting is often treated as a straightforward matter of power, focal length and air pressure. Russ uses practical cuts to show that the process is dominated by absorption, heating, evaporation and the behaviour of hot acrylic vapour inside the kerf.
Previous: Air Assist Myths | Series Menu | Next: Cast vs Extruded Acrylic
What You’ll Learn
- Why acrylic cutting is primarily a phase-change process rather than combustion like wood.
- Why clear acrylic behaves very differently under CO₂ and blue diode wavelengths.
- How lens orientation, speed and air assist can change edge quality and cutting speed.
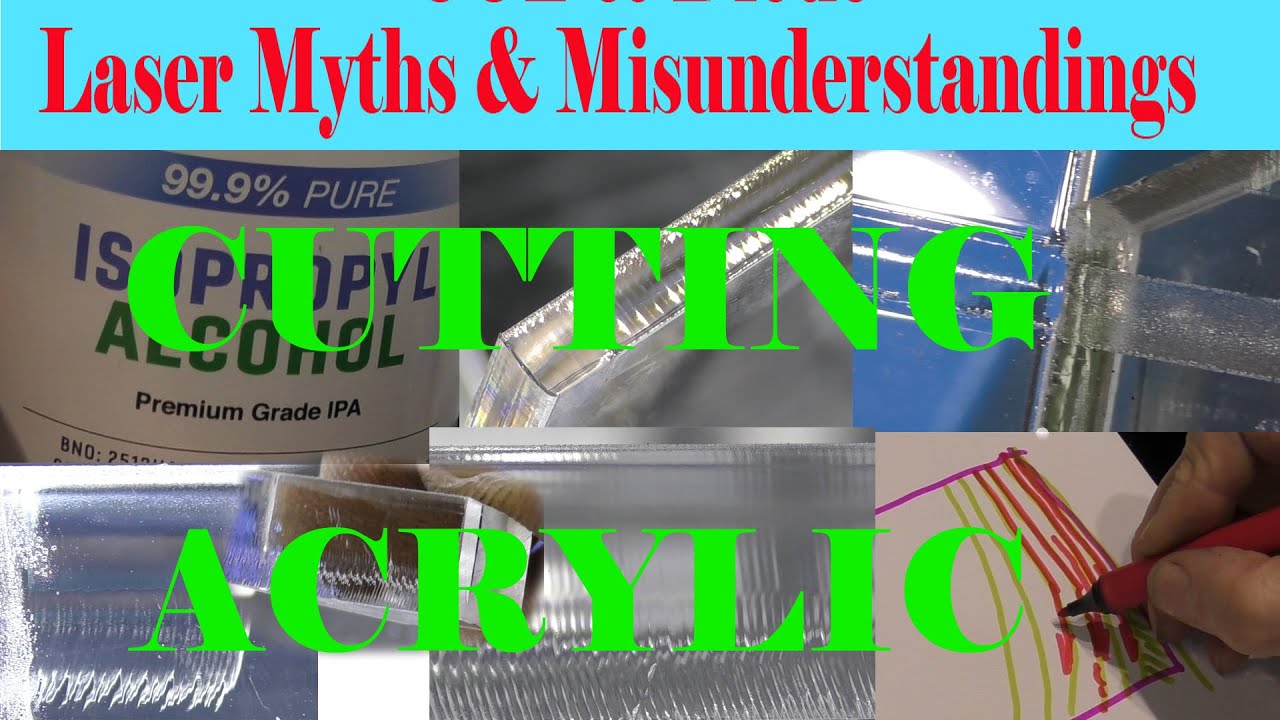
Acrylic Cuts by Heating and Evaporation
Russ contrasts acrylic with materials such as wood and leather. The CO₂ beam is strongly absorbed, the polymer heats rapidly and vapour is generated in the kerf. That vapour and the remaining heat affect the characteristic striations and the apparent direction of the cut.
Air and Lens Orientation Change the Result
Practical tests show trade-offs between speed, surface scorching and smoothness. In Russ’s experiments, reducing air can sometimes allow more heat to remain in the cut and improve the finish, while reversing the lens can alter the useful intensity distribution at the expense of cutting speed.
Why This Session Matters
The video demonstrates why there is no single acrylic rule based only on watts, focal length or compressor pressure.
This page is a concise overview of Russ Sadler’s original video rather than a full transcript.
