 Skip to content
 Laser-cut foam inserts are a simple way to organise toolboxes, tool drawers, cases and workshop storage so every tool has a defined place. The difficult part is usually not the laser cutting itself — it is creating accurate tool outlines, allowing enough clearance for a comfortable fit and choosing a foam that is suitable for laser processing.
This guide covers the complete workflow, from photographing and tracing your tools through to cutting layered foam inserts. It also includes practical notes from my own experience cutting thick polyethylene (PE) foam on a CO₂ laser.
Quick answer: how do you make laser-cut foam inserts for tools?
- Choose a foam with a known composition that is suitable for laser processing.
- Photograph or scan each tool from directly above.
- Convert the outline into vector geometry.
- Add clearance around the tool so it can be removed easily.
- Add finger notches where necessary.
- Arrange and nest the tools efficiently within the drawer dimensions.
- Test one or two outlines before cutting the complete sheet.
- Cut the top foam and, if required, bond it to a contrasting base layer.
1. Choose the right foam
Do not assume that any foam can be laser cut safely. Foam products can contain flame retardants, plasticisers, adhesives, coatings and other additives that are not obvious from appearance alone.
Known polyethylene (PE), polyester (PES) and some polyurethane (PUR) foams are commonly laser processed, but the exact grade still matters. If the composition is unknown, obtain the manufacturer’s technical or safety information before putting it in the laser.
For tool inserts, closed-cell polyethylene foam is a popular choice because it cuts cleanly, is durable and is available in different colours and densities. Plastazote® is one well-known family of cross-linked polyethylene foams. Avoid treating a brand family as automatically laser-safe, though — check the exact grade. ZOTEK® F, for example, is a fluoropolymer foam and should not be treated like ordinary PE foam.
For broader guidance on materials, see What Can a Laser Cutter Cut? and How to Laser Cut Foam.
2. Measure the toolbox drawer or case first
Before tracing any tools, measure the usable internal dimensions of the drawer, case or tray. Check for rounded corners, hinges, ribs, handles and other obstructions. A nominal drawer size is often slightly larger than the area that a foam sheet can actually occupy.
If you are creating a two-colour shadow insert, also decide whether the top layer will be fully cut through or whether you will create pockets to a controlled depth using another process.
3. Create accurate tool outlines
The fastest modern workflow is to photograph the tools from directly above on a plain, contrasting background, then convert those outlines into vectors. Good lighting matters more than an expensive camera. Avoid strong shadows and perspective distortion.
If you use a phone, keep it as square to the surface as possible. A tripod, copy stand or simple overhead mount helps, but is not essential if the software corrects perspective from a known sheet size.
Current tools that can automate the tracing
There are now several browser-based tools that can perform much of the work that previously required manual tracing:
- Shadowboxr — photo tracing, tool layout, auto-nesting, finger pulls and DXF/SVG/PDF export.
- TracetoForge — photo tracing with adjustable tolerance, finger notches and SVG/DXF export for laser cutting.
- Shadow Forge — photo tracing, kerf correction, nesting and DXF output aimed at shadow boards and tool drawers.
You do not need any of these services to make foam inserts. A photograph can also be traced manually in graphics or CAD software. The advantage of specialist tools is that they combine scale correction, tracing, clearance and layout in one workflow.
4. Add clearance around each tool
A perfect geometric outline is usually too tight. The tool needs enough clearance to drop in and lift out without forcing the foam.
The correct offset depends on foam density, tool shape and how snug you want the fit. Start with a small offset and make a test piece. It is much easier to increase clearance than to recover a cavity that has been cut too large.
For tools that sit almost flush with the foam, add finger notches or small access pockets so the tool can be lifted out easily. Handles do not always provide enough purchase, particularly on spanners, sockets and flat tools.
5. Arrange the tools before cutting
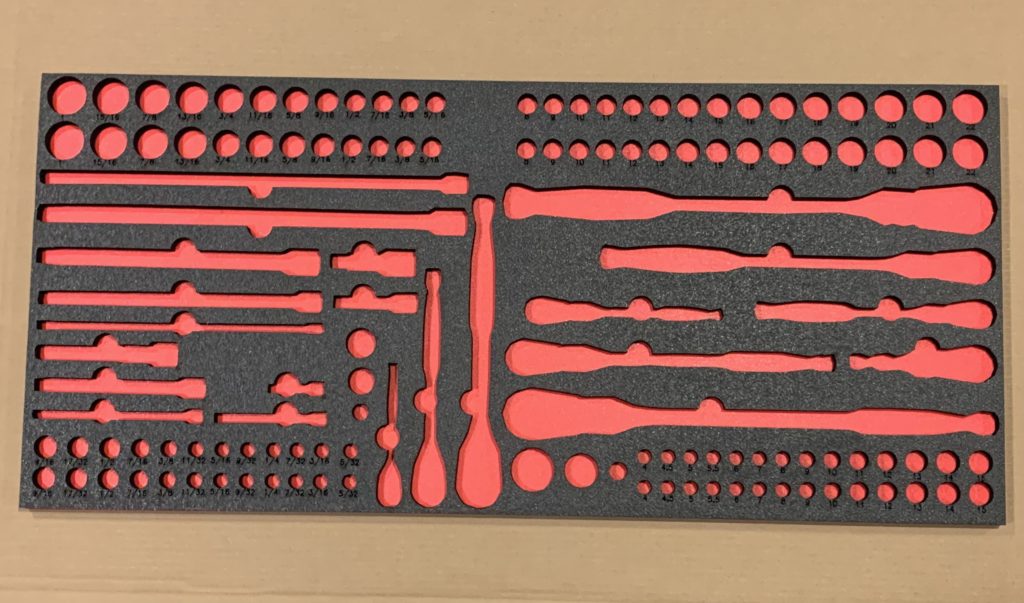
A good tool drawer is not simply the tightest possible nest. Think about how the tools are used. Frequently used items should be easy to reach, similar tools should be grouped logically and handles should face in a sensible direction.
Automatic nesting can save foam, but a fully automatic result may not produce the most usable drawer. Use nesting as a starting point, then rearrange the layout for access, identification and future additions.
6. Test before cutting the full sheet
Before committing an expensive sheet of foam, cut one or two representative outlines in scrap material. Check:
- tool clearance
- finger access
- cut edge quality
- whether the foam shrinks or melts around the cut
- whether the chosen speed and power cut fully through
Foam can behave very differently from rigid sheet materials. The kerf and heat-affected area can be wider than expected, particularly at high power or very slow speed.
7. Cutting thick PE foam on a CO₂ laser
I have cut 30mm red/black polyethylene foam for tool inserts, and Russ has also demonstrated cutting 40mm polyethylene foam. Thick foam is one of the few applications where I still see a genuine use for a long focal-length lens on a lower-power CO₂ machine.
Unlike normal acrylic cutting, where I now prefer a 2-inch or sometimes 2.5-inch lens on sub-80W systems, very thick low-density foam benefits from the greater depth of focus of a 4-inch lens. The material does not require the same high power density as acrylic, so the larger focused spot is less of a disadvantage.
Do not treat any quoted setting as universal. Foam density, thickness, colour, formulation, lens, real laser output and air assist all affect the result. Run a material test on your own machine.
8. Making two-colour shadow foam inserts
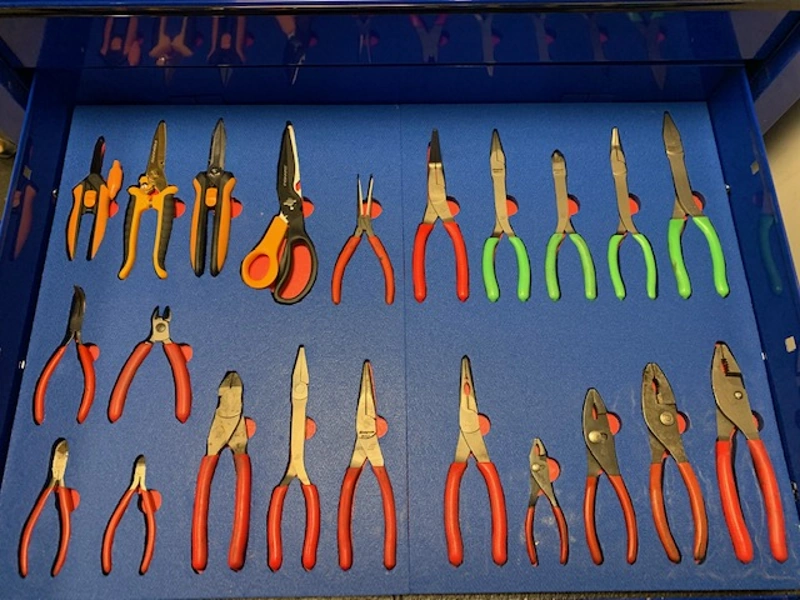
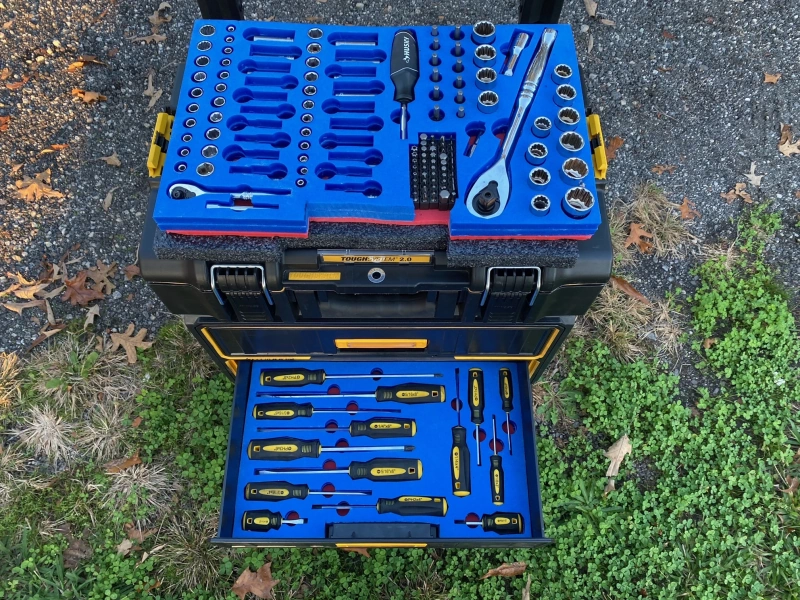
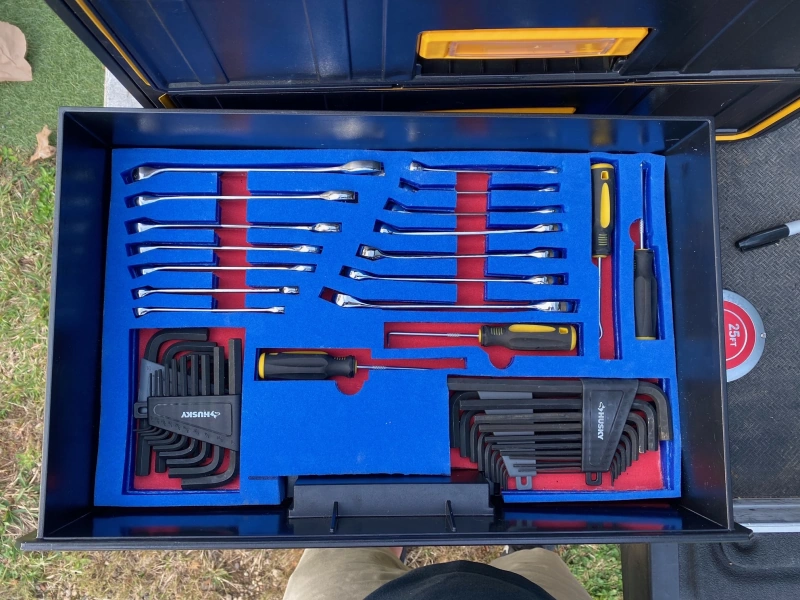
A common workshop layout uses a dark or coloured upper layer over a contrasting base layer. When a tool is removed, the lower colour is immediately visible, making missing tools obvious.
The original inserts featured on this page used a coloured top foam bonded to a contrasting back foam. Pressure-sensitive adhesive (PSA) backed foam is generally neater and more repeatable than manually applying adhesive across a large sheet.
9. Common mistakes
- Cutting unknown foam: always identify the material and check the technical information first.
- No clearance: a traced outline with zero offset often grips the tool too tightly.
- No finger access: flat tools can become difficult to remove.
- Poor photography: shadows and perspective errors create inaccurate outlines.
- Cutting the whole sheet immediately: test representative tools first.
- Using too much heat: excessive power or slow speed can widen the cut and melt the edge.
- Over-nesting: the most material-efficient layout is not always the most usable tool drawer.
10. Other uses for custom foam inserts
The same process works well beyond tool boxes. Custom inserts can be used for measuring instruments, camera equipment, collections, samples, electronics, presentation cases and other objects that need repeatable storage positions.
One application I have always liked is museum or collection storage. Objects can be photographed, traced and given individual supports while the software nests them efficiently within a drawer or archival box.
A note about toolKaiser
An earlier version of this article centred on toolKaiser, one of the first tools I came across that automated the photograph-to-outline workflow. It demonstrated the concept extremely well and many of the images on this page came from that original feature.
The original service later became unavailable, so the current version of this guide no longer depends on it. The important idea survives: photograph the tool, generate a clean vector outline, add practical clearance, arrange the layout and cut the foam. Today there are several alternative tools that can perform that workflow.
Laser-cut foam insert examples


Conclusion
Making professional-looking foam tool inserts no longer requires hours of hand tracing or specialist CAD knowledge. The most reliable process is to start with a known laser-compatible foam, capture accurate tool outlines, add sensible clearance and finger access, test the fit, then cut the final layout.
The software can now automate much of the tracing and nesting, but the practical decisions — material choice, fit, accessibility, layout and cutting parameters — still determine whether the finished drawer actually works well.
What Next?
Did you enjoy this post? Why not check out some of our other posts:
Disclaimer
Last updated April 25, 2024
WEBSITE DISCLAIMER
The information provided by n-Deavor Limited, trading as Laseruser.com (“we,” “us” , or “our”) on (the “Site”) is for general informational purposes only. All information on the Site is provided in good faith, however we make no representation or warranty of any kind, express or implied, regarding the accuracy, adequacy, validity, reliability, availability or completeness of any information on the Site.
UNDER NO CIRCUMSTANCE SHALL WE HAVE ANY LIABILITY TO YOU FOR ANY LOSS OR DAMAGE OF ANY KIND INCURRED AS A RESULT OF THE USE OF THE SITE OR RELIANCE ON ANY INFORMATION PROVIDED ON THE SITE. YOUR USE OF THE SITE AND YOUR RELIANCE ON ANY INFORMATION ON THE SITE IS SOLELY AT YOUR OWN RISK.
EXTERNAL LINKS DISCLAIMER
The Site may contain (or you may be sent through the Site) links to other websites or content belonging to or originating from third parties or links to websites and features in banners or other advertising. Such external links are not investigated, monitored, or checked for accuracy, adequacy, validity, reliability, availability or completeness by us.
WE DO NOT WARRANT, ENDORSE, GUARANTEE, OR ASSUME RESPONSIBILITY FOR THE ACCURACY OR RELIABILITY OF ANY INFORMATION OFFERED BY THIRD-PARTY WEBSITES LINKED THROUGH THE SITE OR ANY WEBSITE OR FEATURE LINKED IN ANY BANNER OR OTHER ADVERTISING.
WE WILL NOT BE A PARTY TO OR IN ANY WAY BE RESPONSIBLE FOR MONITORING ANY TRANSACTION BETWEEN YOU AND THIRD-PARTY PROVIDERS OF PRODUCTS OR SERVICES.
AFFILIATES DISCLAIMER
The Site may contain links to affiliate websites, and we receive an affiliate commission for any purchases made by you on the affiliate website using such links. Our affiliates include the following:
- makeCNC who provide Downloadable Patterns, Software, Hardware and other content for Laser Cutters, CNC Routers, Plasma, WaterJets, CNC Milling Machines, and other Robotic Tools. They also provide Pattern Files in PDF format for Scroll Saw Users. They are known for their Friendly and Efficient Customer Service and have a comprehensive back catalogue as well as continually providing New Patterns and Content.
- Cloudray Laser: a world-leading laser parts and solutions provider, has established a whole series of laser product lines, range from CO2 engraving & cutting machine parts, fiber cutting machine parts and laser marking machine parts.
